Setting the Feature Images
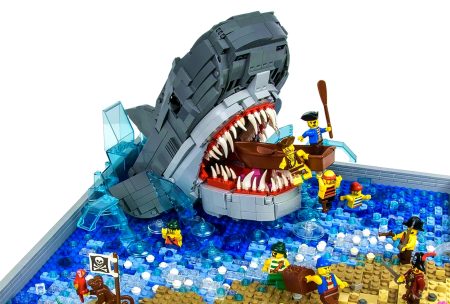
A Featured Image is the main image of a Blog Post. They appear as the masthead (I.e. banner image) of every Blog Post and act as Thumbnails on Blog Archive pages. They are also the image which appears in news feeds when Blog Posts are shared via Social Media.
Selecting a Featured Image
First read the information on Selecting a MOC to ensure you select a MOC with appropriate photos.
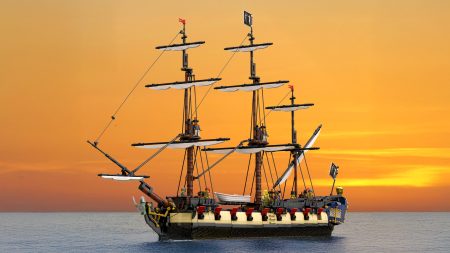
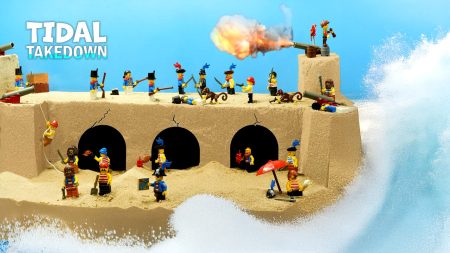
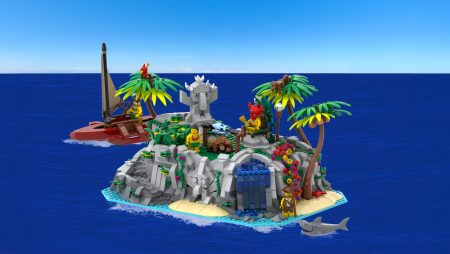
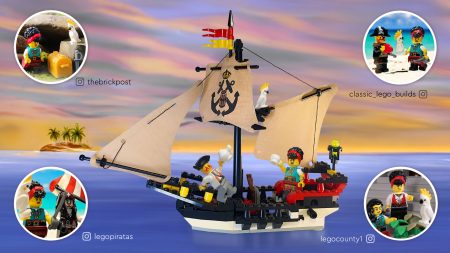
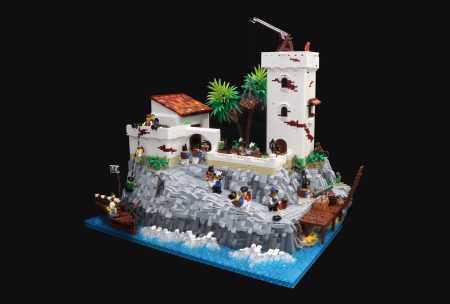
The Featured Image should be the best photo which represents the overall MOC. Ideally it should look like it was taken professionally, or as close to a professional photo as possible.
Featured Images must:
- Be at least 1024 pixels wide – NEVER enlarge a small image so you can need to visit Flickr, Eurobricks topic, Brickshelf, etc. to manually source an image of suitable dimensions.
- In JPG format, NEVER PNG format!
- The MOC should be well-framed, I.e. not taken from an awkward angle, have important details cut off, be zoomed too far out, etc.
- The MOC should have nice lighting. Not so dark details cannot be seen and not too bright it looks washed out.
- The photo quality must not look like it was taken with a cheap camera. So no graininess or other distortion can be present in the image.
How to Set A Featured Image
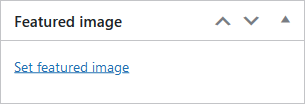
If a Featured Image has not been previously set, click the Set Featured Image link on in the right column.
If a Featured Image has been previously set, click the thumbnail beneath the “Featured image” heading.
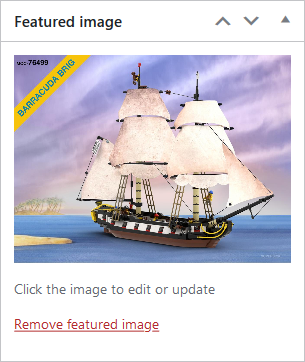
This will activate the Media Library.
To upload an image:
- Drag the file from the desktop folder onto the Media Library.
- Or click the Upload files tab then click the Select Files button and locate the image file you wish to upload.
Further information can be found in the How to Upload an Image Guide.
Entering the Attachment Details
Ensure the image you have just uploaded is selected by observing whether it has a blue outline and check box. If not, you’ll need to manually click it.
Then in the right column you will find the Attachment Details.
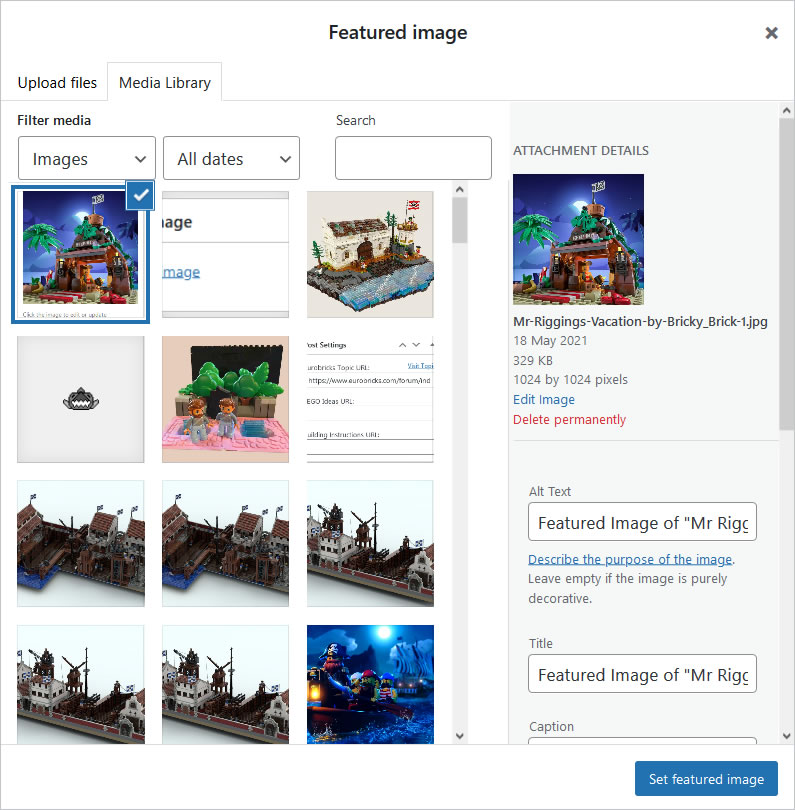
The Title and ALT text needs to be improved for the benefit of Search Engines and Screen Readers using the following format:
Featured Image of "MOC Name" by MOC Builder
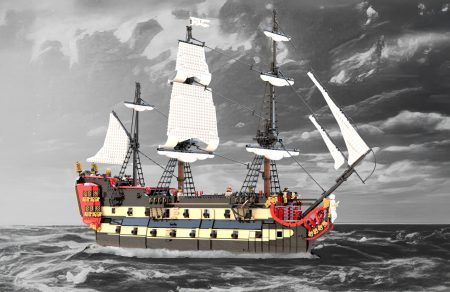
Using the above image as an Example:
Featured Image of "Mr Riggings Vacation" by Bricky_Brick
Note that, you may need to scroll up to see the ALT Text Input Field.
After entering the updated text in both fields, click the Set featured image button.
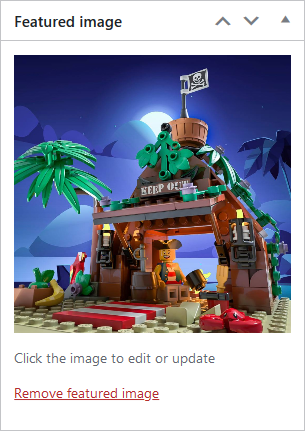
You will be returned to the Post Editor and the if successful, your selected image will appear as a Thumbnail beneath the Featured Image heading.
IMPORTANT!
- The same rules for naming files also applies to Featured Image Filenames.
- You should not include the words “featured” or “image” in the Filename.
- Always use the following format:
lego-pirates-moc-name-builder-name.jpg
- Ensure the Featured Image is not also present in the Post Content – it is never necessary to use the same image twice in a Blog Post.
- If you have resized an image using EzGif.com, ensure the you rename the image file. Never upload an image with “ezgif” in the file name!
